I’ve been doing yoga in one form or another for almost 12 years, and I’m pretty sure I’ve never made it through an entire practice without at least one downward-facing dog pose.
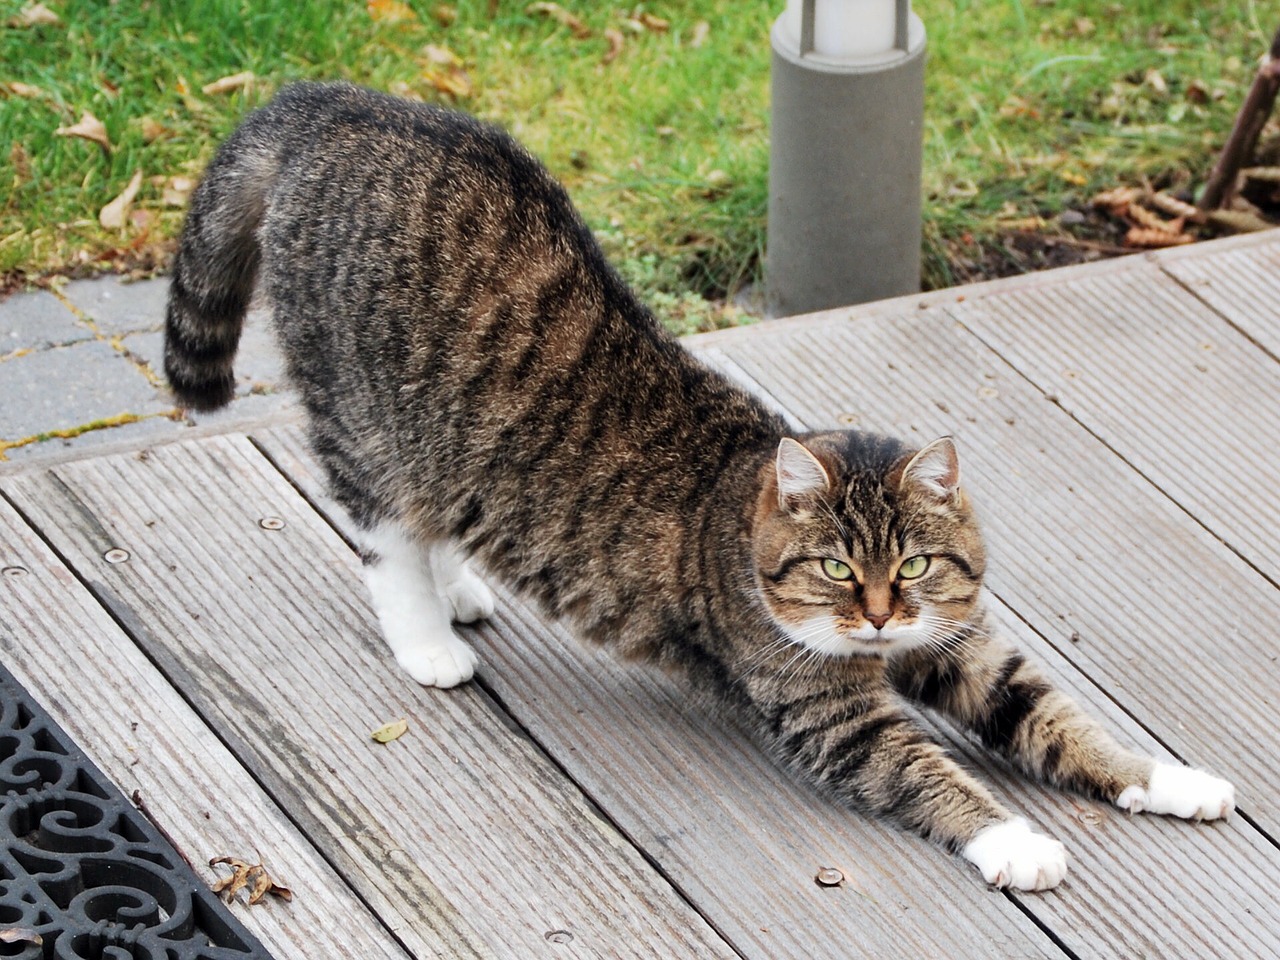
That being said, I don’t think I can adequately express to you just how much I loathed this pose for nearly the entire time I’ve been practicing it.
It was uncomfortable. It hurt my wrists. My shoulders ached. Sometimes my neck felt weird. And it felt ENDLESS.
As I’ve been talking to many of you about yoga over the past several months, I’ve realized that almost everyone experiences these same small miseries in one form or another when doing this pose.
I’m not going to pretend like I’ve unlocked the Zen Secrets of this pose and now love to just hang out in it for fun.
But I CAN say that through talking to teachers that are far more experienced than me and doing my own trial-and-error Yoga Science, I’ve managed to figure out a lot of the reasons this pose can be so gloriously sucktastic.
I’ve also figured out a few tricks to make it manageable and, if you can believe it, enjoyable…at least in the sense that I can get good stretches out of it without feeling TOO much misery.
Why Downward Dog is a Fundamental Pose
Before I get into the part you actually care about, I’m going to talk about why it is that basically every yoga practice ever incorporates this pose.
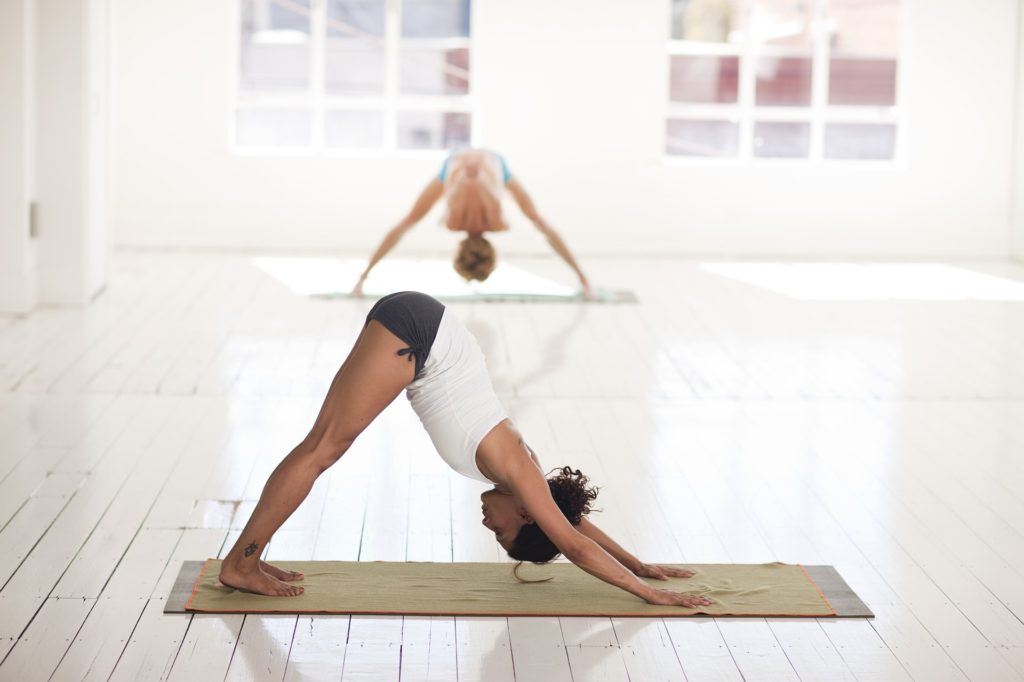
Downward-facing dog, or down dog, or downward dog, or adho mukha savasana, is one of the few poses that basically works everything in your body. It’s both strengthening AND balancing, and it forces your upper and lower body to work together harmoniously.
The “whole body working together in harmony” concept plays a big role in whether your downward dog is painful or pleasant.
It’s also a gentle inversion pose, so you get the benefits of inversion (e.g.- better circulation, better lymph drainage, mental clarity) without putting too much strain or stress on your body.
It can also act as a transition pose when you’re doing vinyasa flows, or it can serve as a kind of “reset” pose that keeps your mind and body engaged as you prepare to switch to the next part of your practice.
Essentially, the only way you’re gonna get out of doing this pose a LOT is if you only do hot yoga (which I hate more than downward dog).
Hot yoga doesn’t typically incorporate inversions because that’s a great way to get light-headed and fall over, and that’s a real downer to your practice.
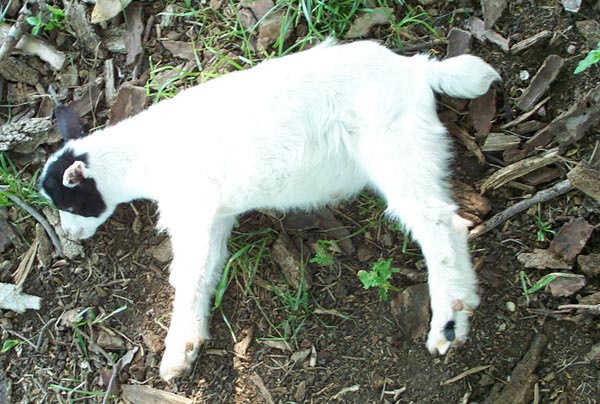
Anyway, so now that you know why it’s such an integral part of most practices, let me try to help you figure out why your down dog sucks.
If You Hate Downward Dog, Try These Tricks
First things first: Make sure you have a good understanding of how the pose should look! Try reading this step-by-step breakdown if you want a refresher.
The problem: Your wrists hurt.
The solution:
As a disclaimer, let me say that you know your body better than I do. If you have injuries or chronic issues, my solutions might not help. If this is the case, you can always modify the pose so that you’re resting on your forearms and supported by block if needed.
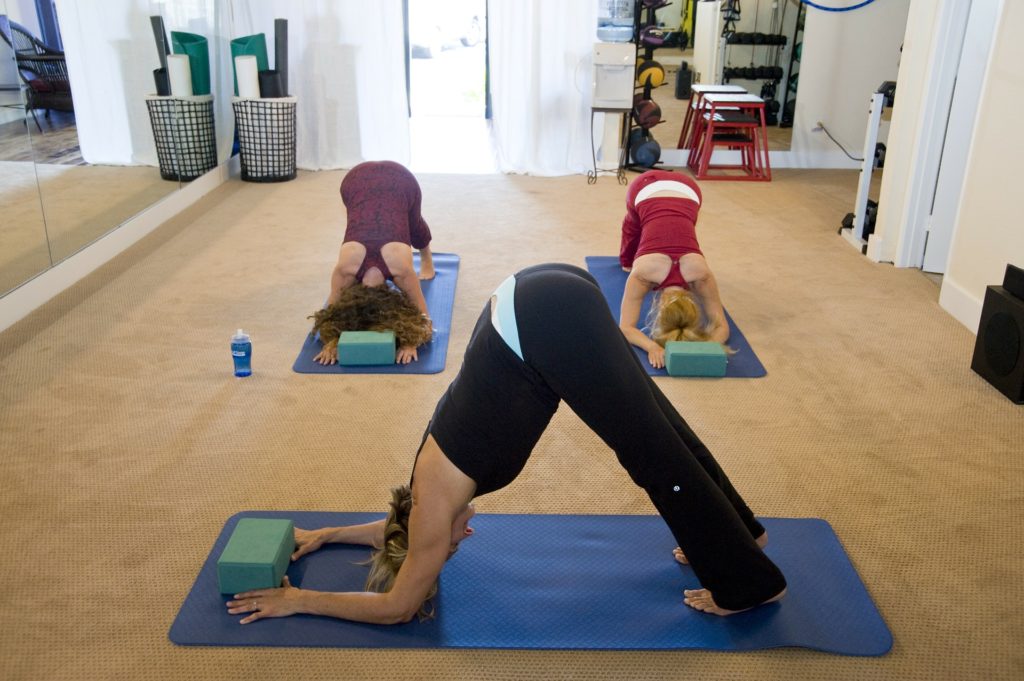
For most of us, if your wrists are hurting, it means you’re making your arms do too much work. The bulk of your weight should be settled back into your butt and legs, and your arms should really just be working in a supporting role.
So first, try stretching your tailbone up into a straight line toward the ceiling and settling your hips back and down. When done correctly, you should feel a noticeable stretch in your tailbone, and the heaviness in your wrists should diminish.
If you’re still feeling wrist pain, you might not be utilizing your hands properly. Be sure that your fingers are spread wide, and remember that you can turn them out to the sides a bit if that helps your stability. That’s how I always do it.
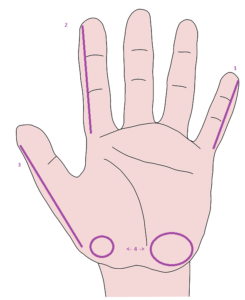
Then, make a conscious effort to connect four points of your hand firmly to the mat:
- The outer edge of your pinky
- Your entire pointer finger (or at least the top and middle joints)
- The line that runs along the outer edge of your thumb
- The points on the heel of your hand that sit just outside of your wrists
The problem: Your neck or shoulders hurt.
The solution:
The first thing you should do if your neck or shoulders feel too stiff or tight is to try the wrist solution I mentioned up above.
If that doesn’t help, the next thing to try is making sure that your shoulders aren’t bunched up toward your ears. Notice if your shoulders feel “shrugged up,” and try to consciously roll them back and down to create “space” around your ears.
If your neck still hurts, try dropping your head and letting it “hang.” You can also use blocks to support the crown of your head.
The problem: Your hands are sliding or your feel unstable.
The solution:
One possible issue here could be that your mat isn’t “grippy” enough. First try cleaning your mat thoroughly, and if that doesn’t help, see if adding a towel keeps your hands from slipping as much.
Another problem could be that your pose is too long. Try taking a step toward your hands and resetting your position to see if you feel more stable.
Alternatively, it could also be that you need to widen your stance. (I know, this sounds silly coming RIGHT after I said you might need to step closer.) Not all instructors will mention this, but you can absolutely spread your feet slightly wider than your mat if you need more stability.
Tell Me Your Downward Dog Woes
Obviously, the list I just gave you isn’t comprehensive. I’m sure there are plenty of other problems that I didn’t address! The ones I mentioned above are just some of the ones I dealt with and some that my friends have struggled with too.
If I didn’t talk about the troubles you’re having, tell me about them! I like brainstorming solutions for people so that they can feel comfortable in a pose. Let’s chat here or on Instagram!